Monday, October 24, 2016

Weaving through Colors

Weaving through Colors is versatile because of using coloring materials and then exercising your dexterity by weaving.
1. Materials needed will be, a thick card stock paper any size, any coloring material i.e. watercolors, markers, colored pencils, yarn, a thick plastic weaving needle, a hole puncher, and scissors.

2. Using the hole puncher, create holes around the perimeter of the card stock.
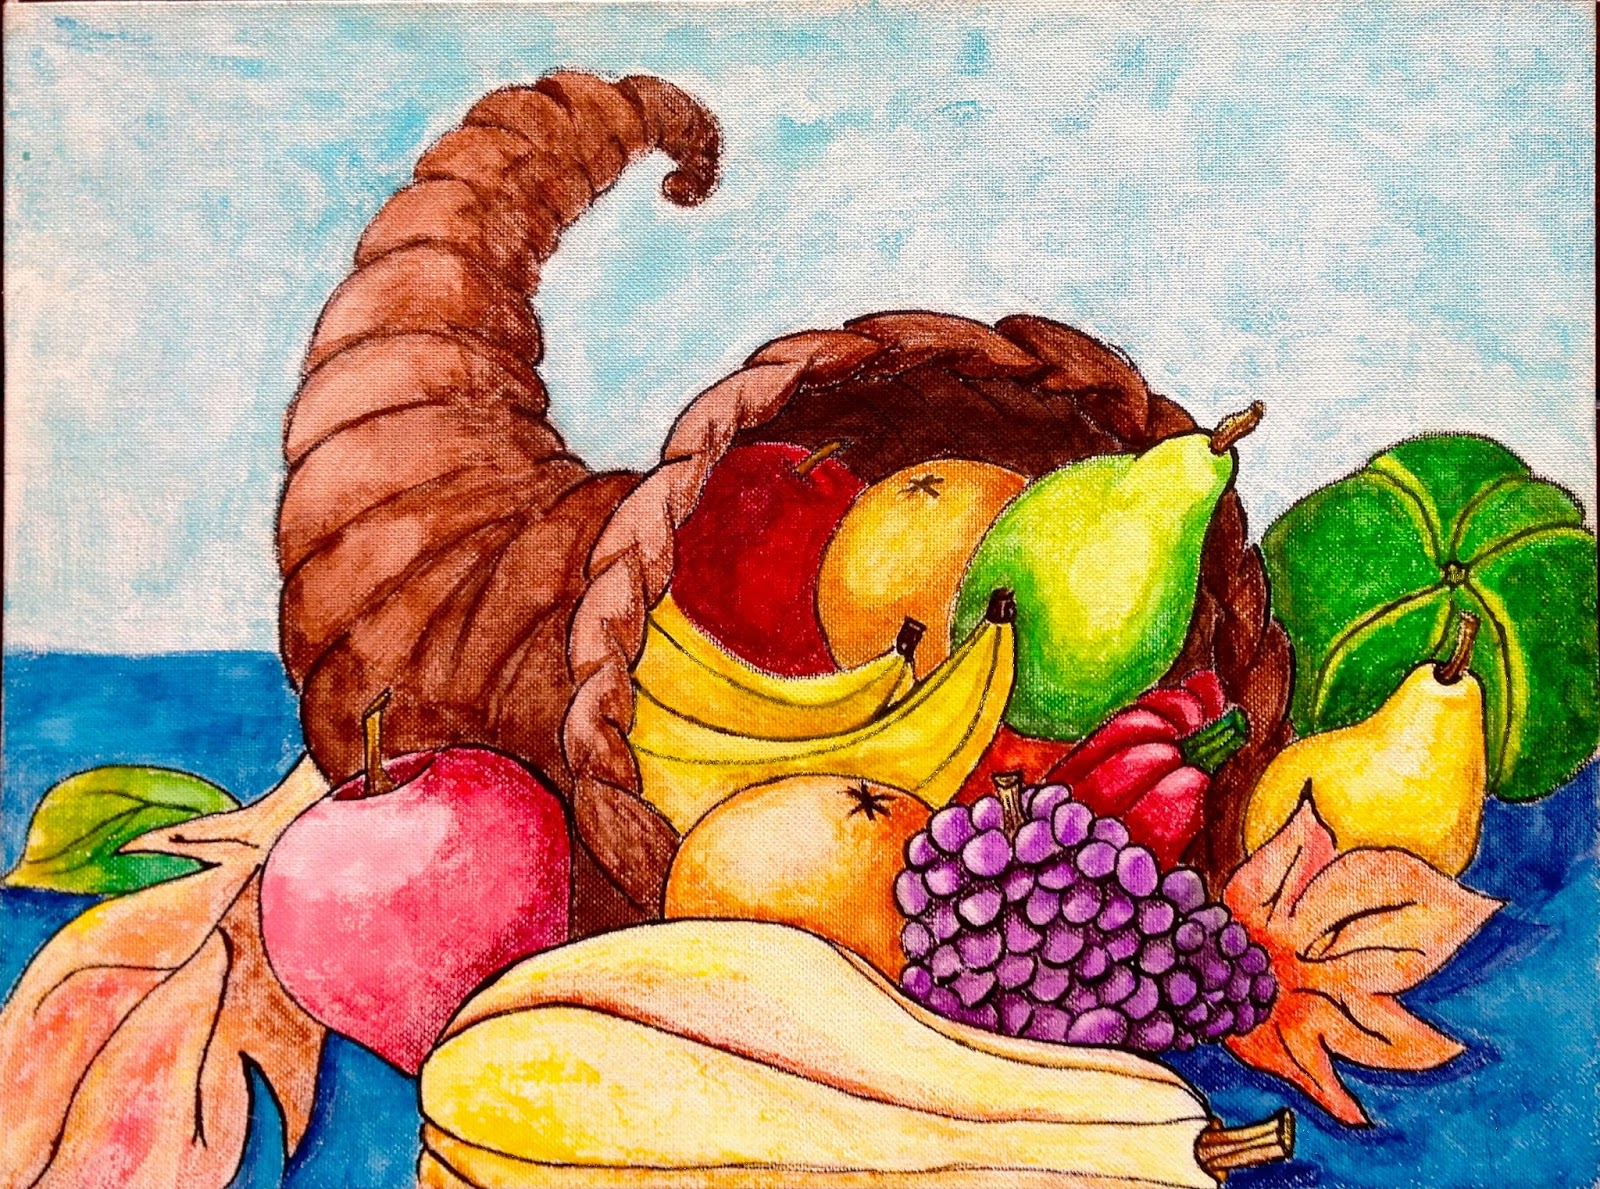
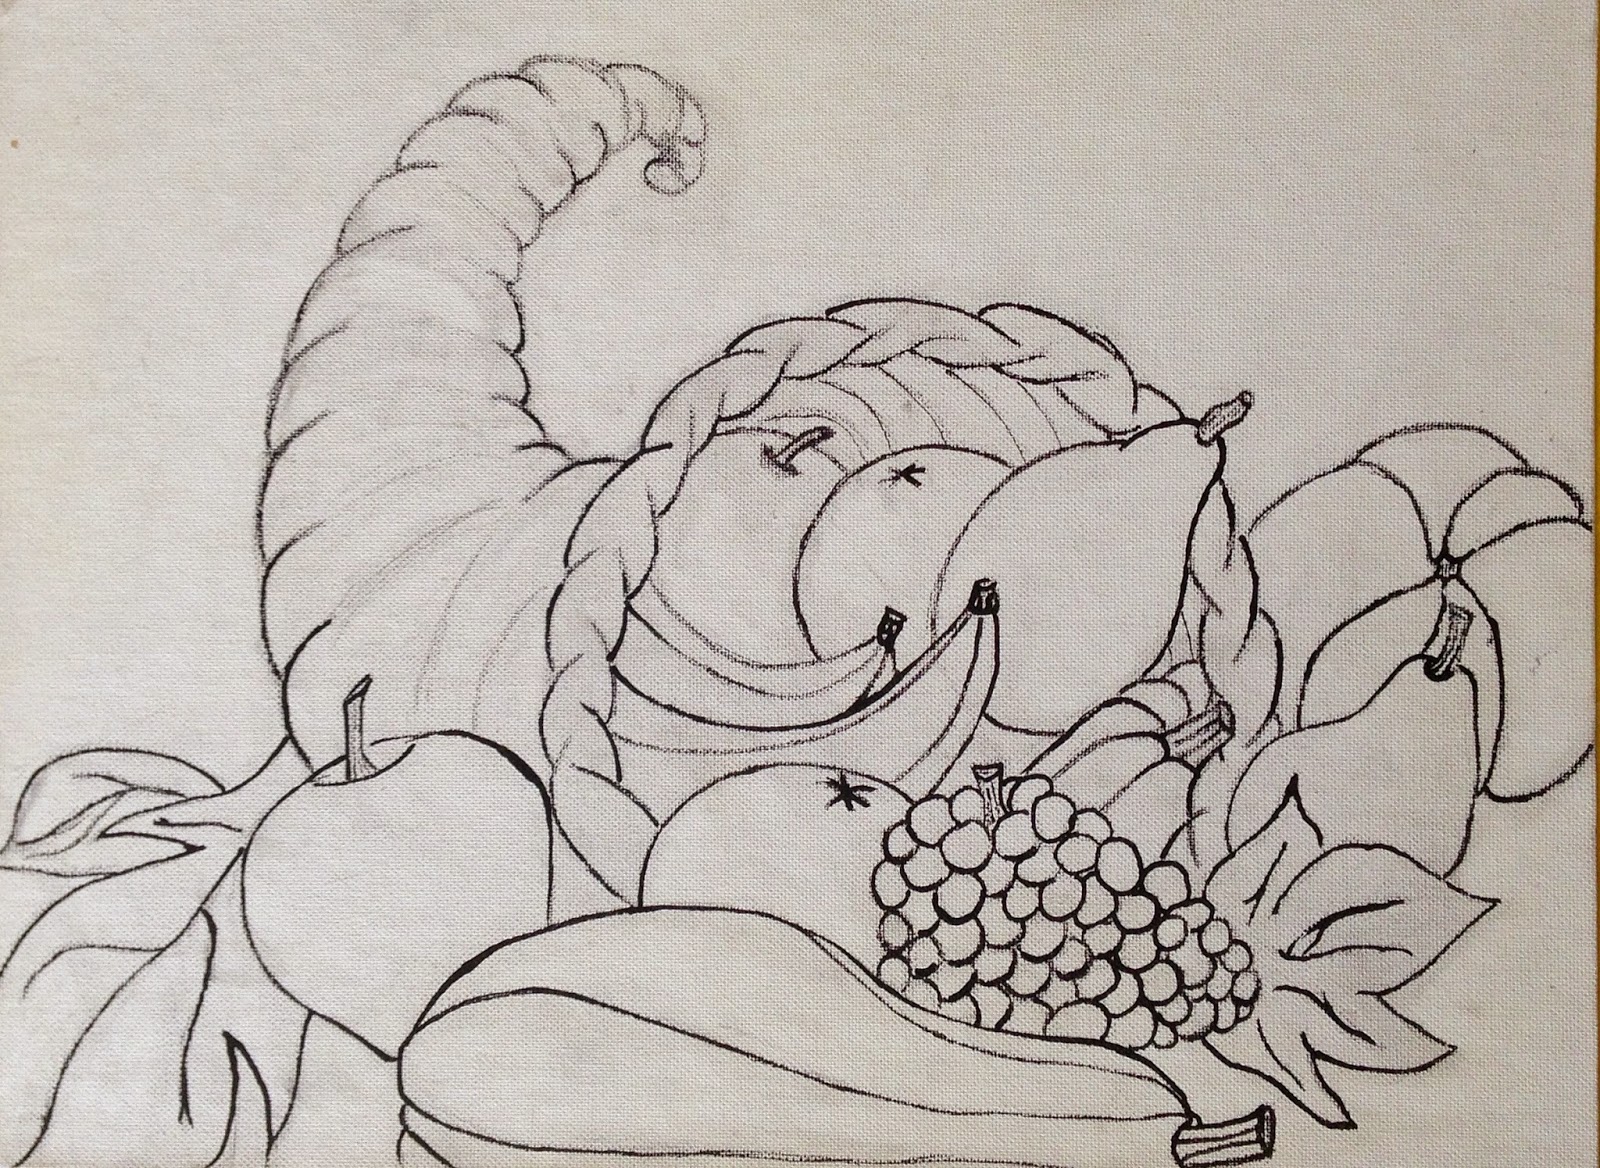
3. Color any image you see fit for your creation.  *Steps 2 and 3 are interchangeable.

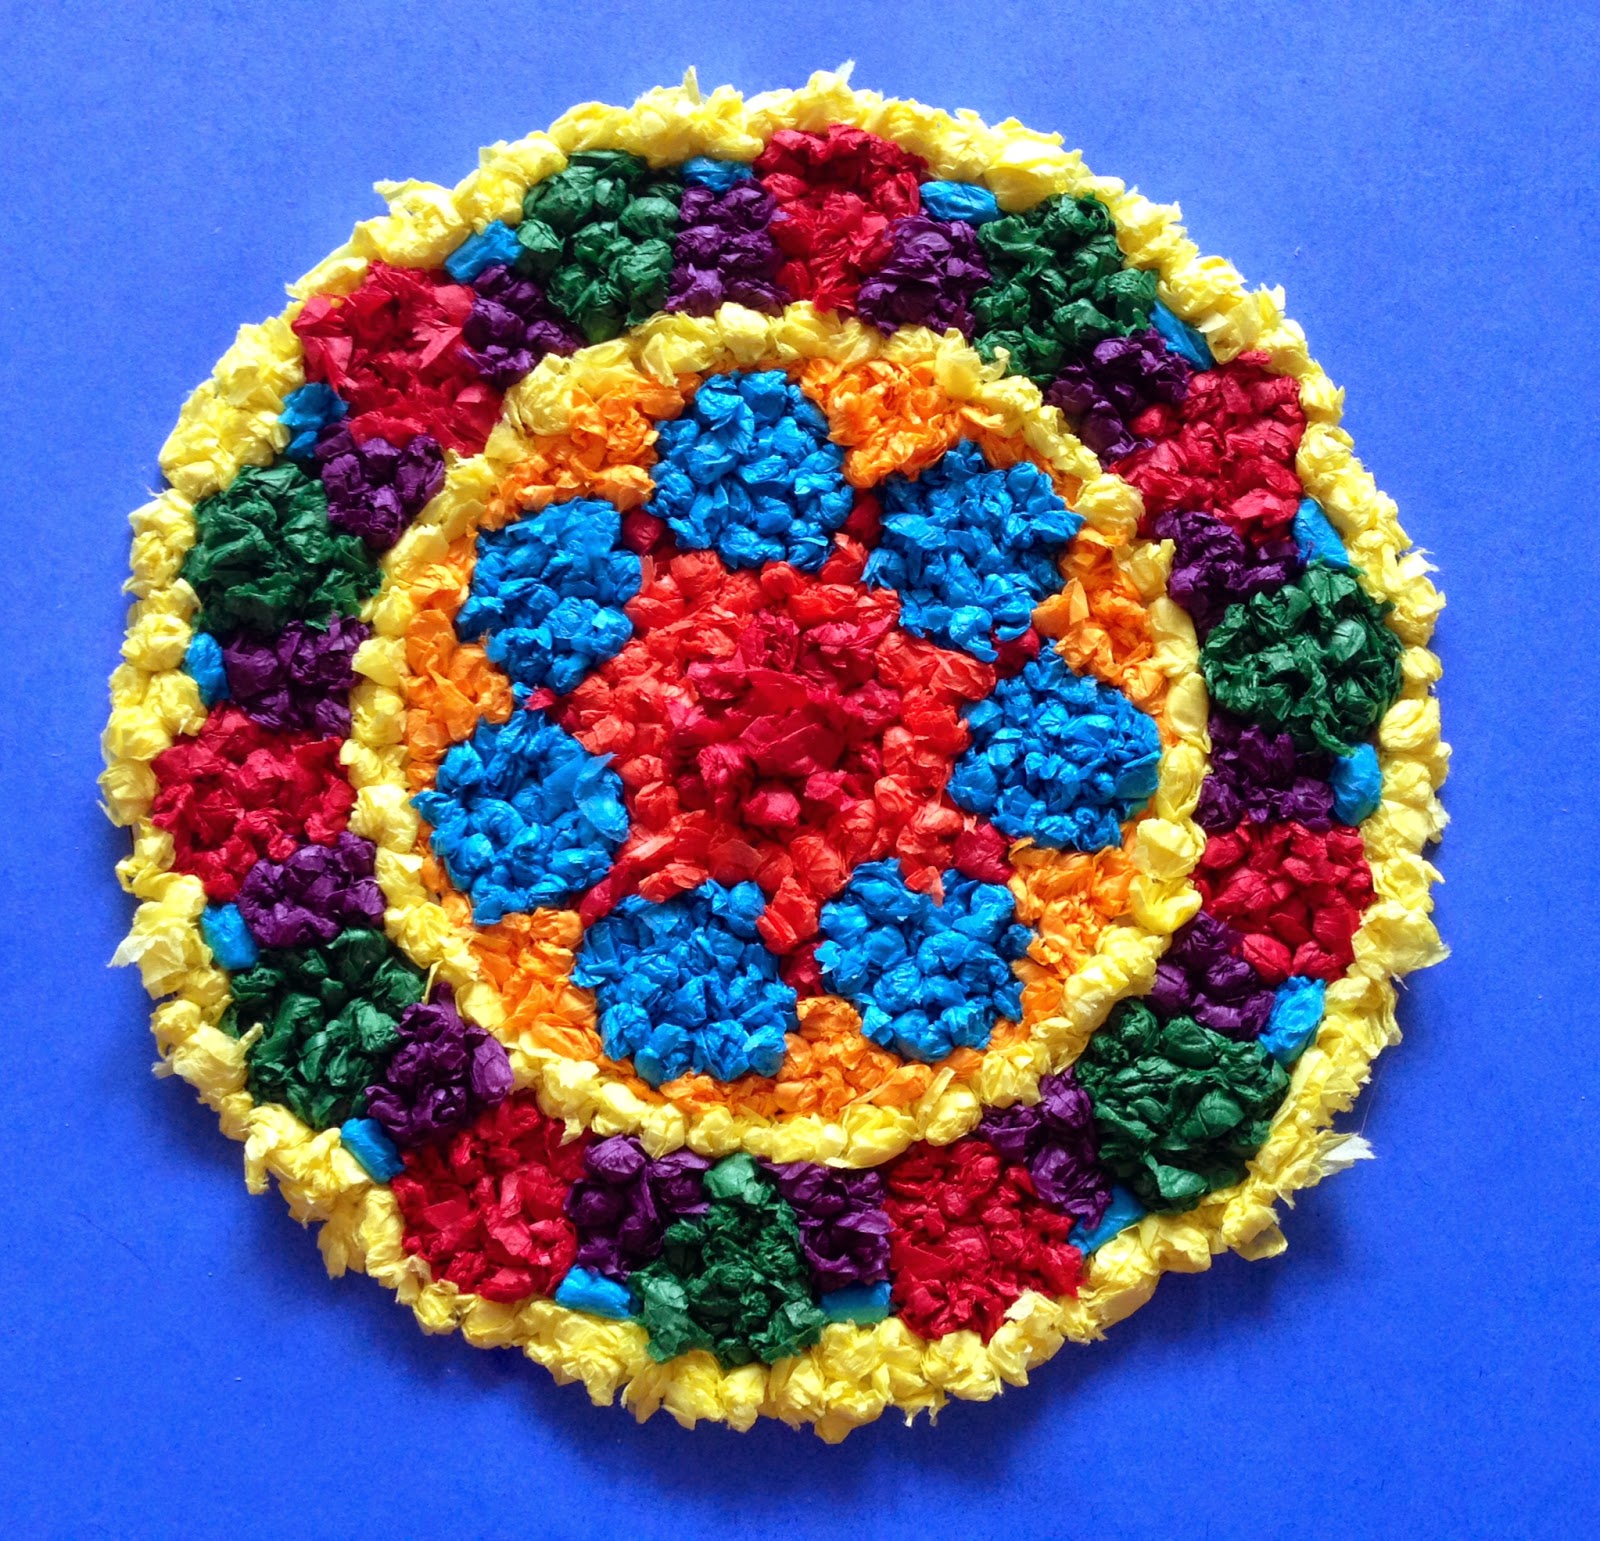
4. Using the plastic weaving needle, pick the color of yarn you desire and weave through your perimeter.


5. Cut off any excess yarn.
6. When weaving is completed, tie the loose yarn in a knot to secure your weave.

In the end you have a fun versatile art project for all ages and cognitive levels!


Wednesday, November 12, 2014

Cornucopia of Ink


Ink has many uses that are fun and versatile. Here are just a few ideas for ink fun.
1. Ink with paints/watercolors. Here I have watercolors, pencils, brushes, canvas, a bamboo ink pencil, and ink. (If you are going to use watercolors on the canvas make sure you get a canvas that is suitable for watercolors, otherwise the canvas doesn't soak up the water. That is what happened in my case.)


2. Pick an image you are interested in creating and draw it out on the canvas. Since we are in November I decided to go with a cornucopia.


3. Next go over your pencil drawing with ink. You can use a brush or in my case I used a bamboo ink pencil with the ink.
 

4. Once the ink has dried, which is only a few minutes, you can start adding your colors.


Another way to use ink is by adding water to it and creating it as a wash.


Here is what the ink and watercolors look like when you use a watercolor paper with it.
 

Wednesday, October 22, 2014

Scribble Technique


 The Scribble Technique is great to do when you are completely stumped on what to create.  It gets the imagination fired up!
1. Get a piece of paper any size and color.  Also grab any art materials you want to work with.

2. Use a pencil or crayon and with your non-dominate hand scribble on the sheet of paper.  I like to do this with my eyes closed as well.


3. Now look at your scribble and search real good to find and image.  You can rotate the page around and around until you see an image.  I had to flip mine upside down to finally see something.
4. Once you see an image amongst the scribbles then expand on it and further create the image by using all the art materials you enjoy.

Tuesday, October 14, 2014

October Abstracted

Celebrate October!
1. For this project I used tissue paper, construction paper, a small canvas, and Mod Podge.  You can add as many materials as you like, that's the fun of abstract art!


2. Choose your main focus for October.  I picked a pumpkin, but you are more than welcome to pick any image you desire, such as, a skeleton, witch, moon, black cat, ghost, etc.
3. Draw out your image on construction paper and cut the image out.  I also cut the image more so I can make it more abstract looking for later.


4. Next, brush on the Mod Podge on the blank canvas.
5. Rip up the colors of tissue paper you are interested in using and start placing them on the canvas on top of the Mod Podge.


6. Keep adding the tissue paper until you are satisfied with the look of it.


7. Now add the main image and place it in a manner that you are happy with and still looks abstract.


8. Add more tissue paper and any extra materials you would love to work with, keep going until you love it!

Tuesday, September 16, 2014

Tissue Paper Mandalas


This is a great meditative art directive.  
1. Have a variety of colored tissue paper.
2. Print out an image of any kind.  I chose a mandala image for this project.


3. Have a larger piece of paper to cut out and glue down your image.  I only do this to give myself a bigger area to work with and to give extra support for the picture to hold the weight of the tissue paper.  If you print the image on a heavy grade paper then you don't need to paste it down on another larger piece.


4. Start ripping up your first color of tissue paper into small 1 inch x 1 inch squares or larger if you want larger size tissue balls.
5. Take one of the squares and roll it into a small ball and glue it down in the place you want.


6.  Continue this with different colors and start to fill in the entire image with the small tissue balls until you are completed.  


Monday, August 18, 2014

Fabric Weave


I use a fabric glue, that you can get at any store that sells fabric, to put this piece together.  There is no sewing involved with this piece.

1. You want to cut up a minimum of two styles of fabric; one in 4 inch x 12 inch strips and the other in 4 inch x 9 inch.  You can go 4 inch x ___ inch depending on how big you want your art piece.

2. Once you have your strips, you are going to take one strip at a time and glue each edge down to hide the frayed edges.  Then you will fold the strip in half to make the strip thicker and so both sides look the same.  They should look like this.  At this point don't worry about the fray that is at the very end of the strip, the border that we put on later will hide it.


3. You should have one set of long strips and another set that are slightly shorter.


4. Now you can begin to weave your colors together.  When you weave your first strip make sure you glue all the little squares, do this for this one only and for the very last strip you put in.


5. When you weave your second strip only glue down the very top square that you started and the very bottom square.  Do not glue all the squares in the middle because it won't end up soft at the end.
6. Continue step 5 until you have weaved all the way to the end.  When you get to the last strip make sure you glue down all the squares on the last strip.  So now all the 4 edges around your weave pattern should all be glued and there should be NO glued strips in the middle.  The middle should be glue free.

7. Now take a third color and create a boarder for your weave piece.  Make sure you glue this boarder down.  The boarder is the finishing piece and the piece to hide the rest of the frayed ends.


Sunday, August 10, 2014

Identity Hands


This is a great "Get to Know You" project.
1) On a sheet of paper place your hand down and out line it with any art medium.
2) Design the inside of the drawn hand with something that describes who you are.
3) Share what you have created.
* If this is a group project:
4) Have everyone cut the hand shape out.
5) Paste everyones' hand shape on one giant board so all the hands are together in one place.
6) Name each hand and then share what you have created.